

How To Remove Background From Bmp In Photoshop Elements
Changing or Removing Background is one of the trickiest and rewarding jobs. Information technology has a lot of business value. Some bully uses might exist production images for an eastward-commerce site, whatsoever verification photo, profile picture, etc. Though it may sound easy it took much attempt to accomplish this task.
What is Irresolute or Removing The Background?
It carries the same meaning every bit the two words mention in the question. Every picture or image has some background may that be a natural object or solid colour. Now interchange that objects with some other object or colour is called changing or erasing of background.
Photoshop has a couple of ways to erase the background. The methods vary depending on the difficulty or complexity of the image. There are two tools:
- The Magic Wand Tool
- The Groundwork Erase Tool
Magic wand tool is used for erasing the background of pictures with a elementary background. On the other hand, the complicated groundwork needs a groundwork eraser tool.
Maneuver Erasing a Unproblematic Background
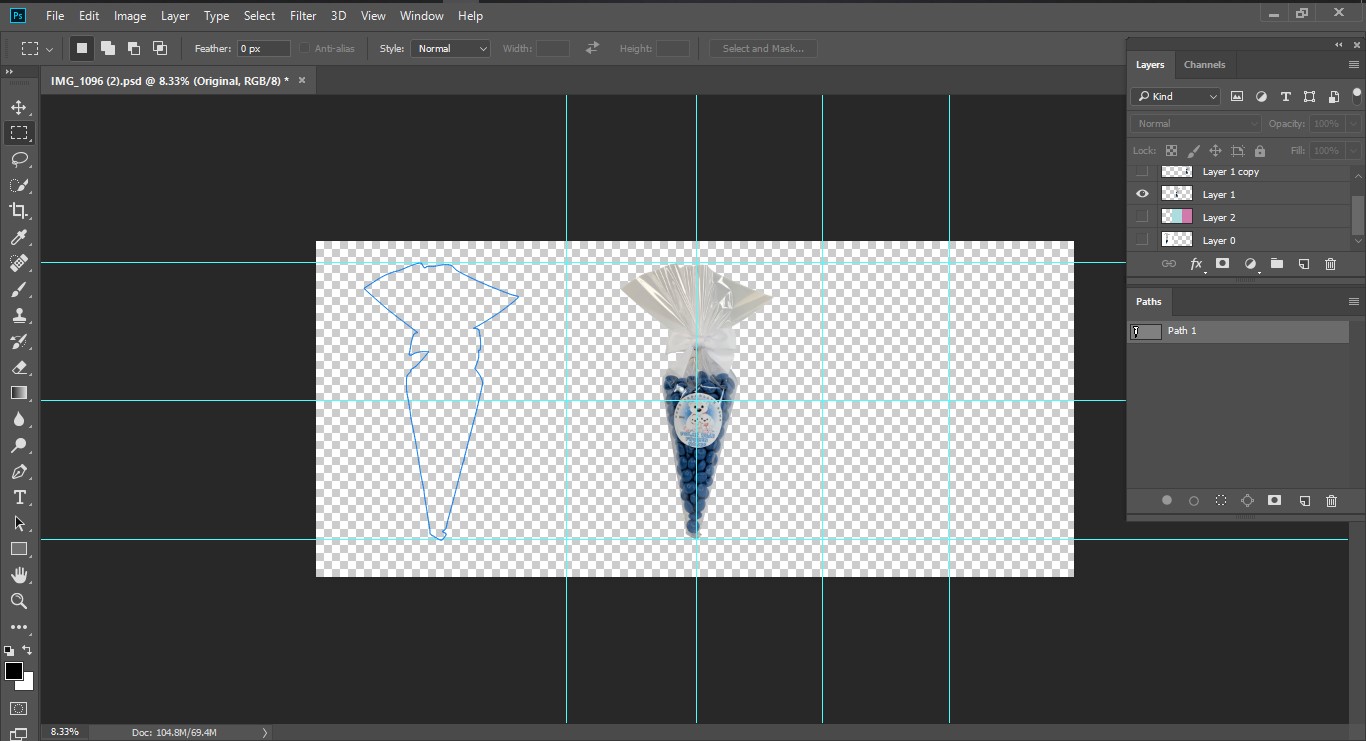
- O pen the picture in Photoshop Explore to the layer window
- Select Magic Eraser
- Conform Settings
- Select The Background
- Modify Minor Adjustments
- Click your Object
- Save
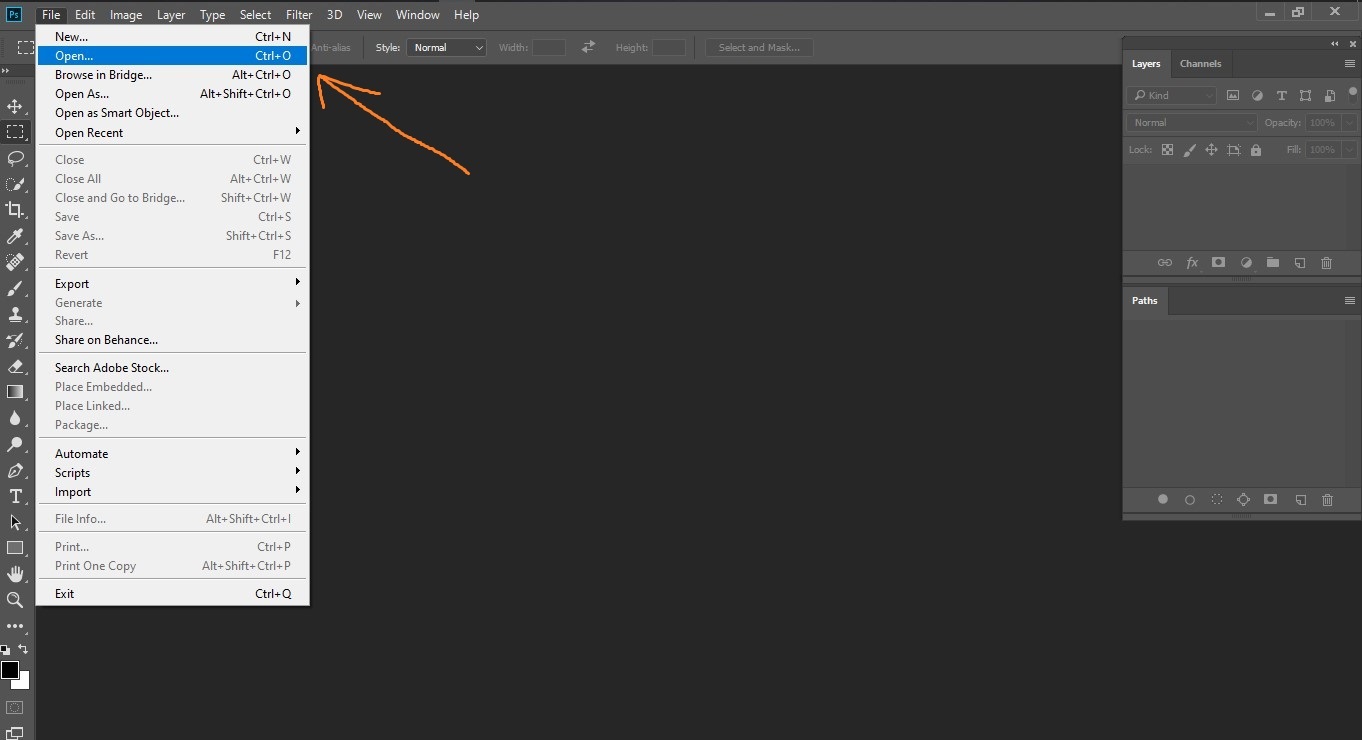
*** Open the epitome in Photoshop which groundwork y'all want to remove past selecting:-> File->Open up or Shortcut Primal by pressing Ctrl+O (Windows), Command+O (MacOs).
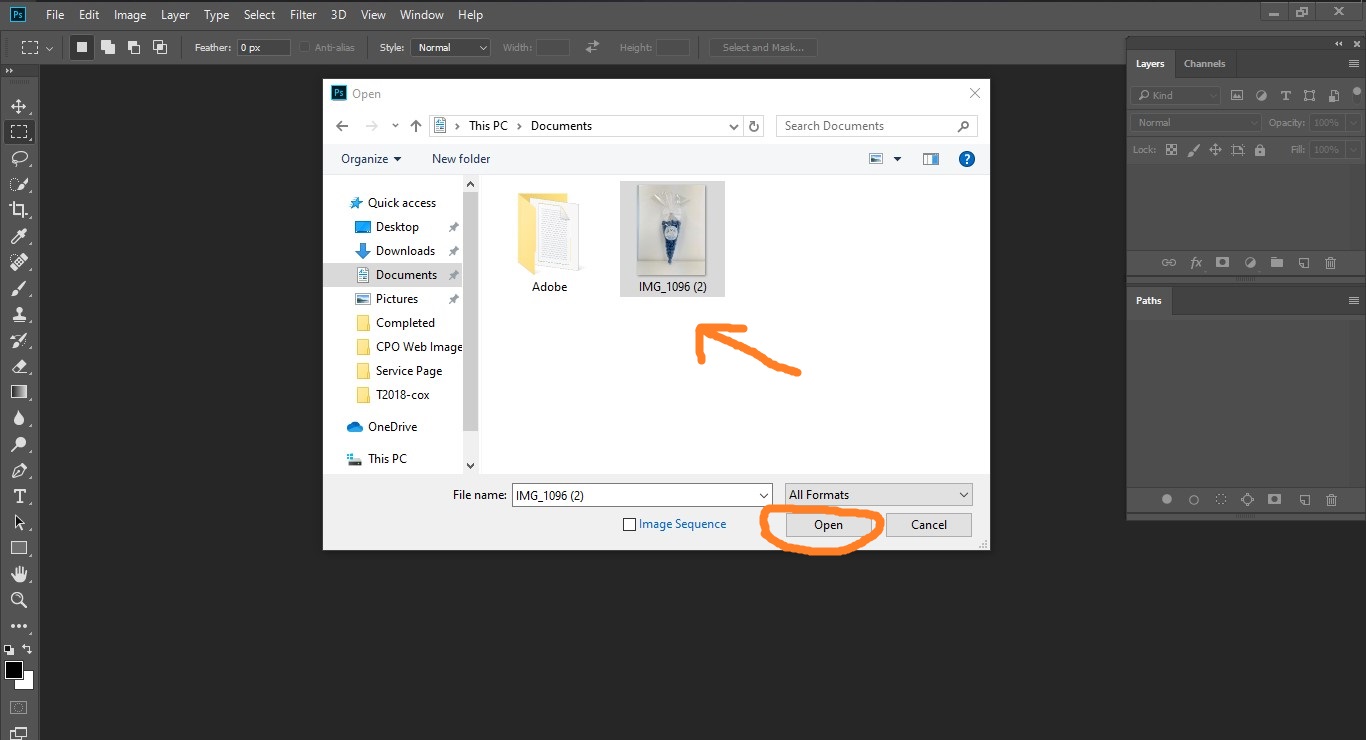
*** Then Select the image from you lot location and hitting Enter/Open.
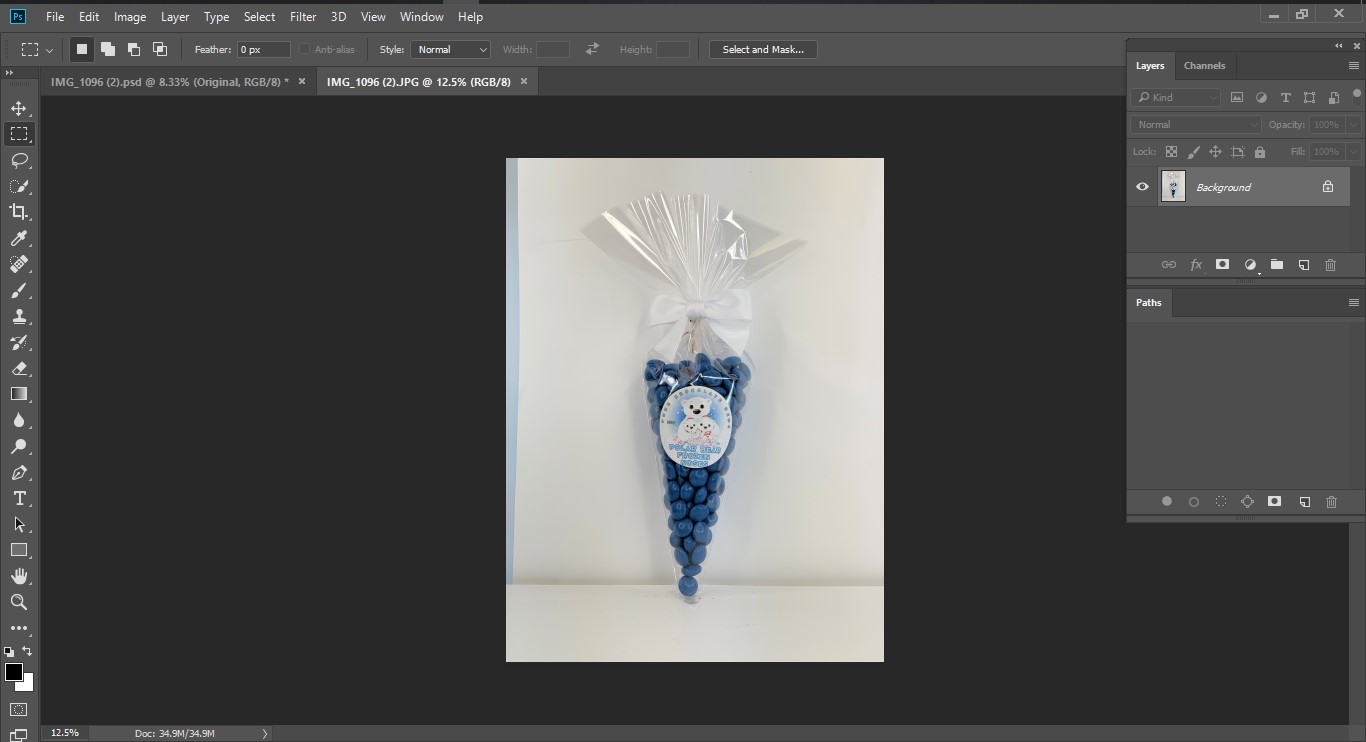
Open The Picture in Photoshop: This technique works best with a simple background such equally solid color or close to a solid colour.
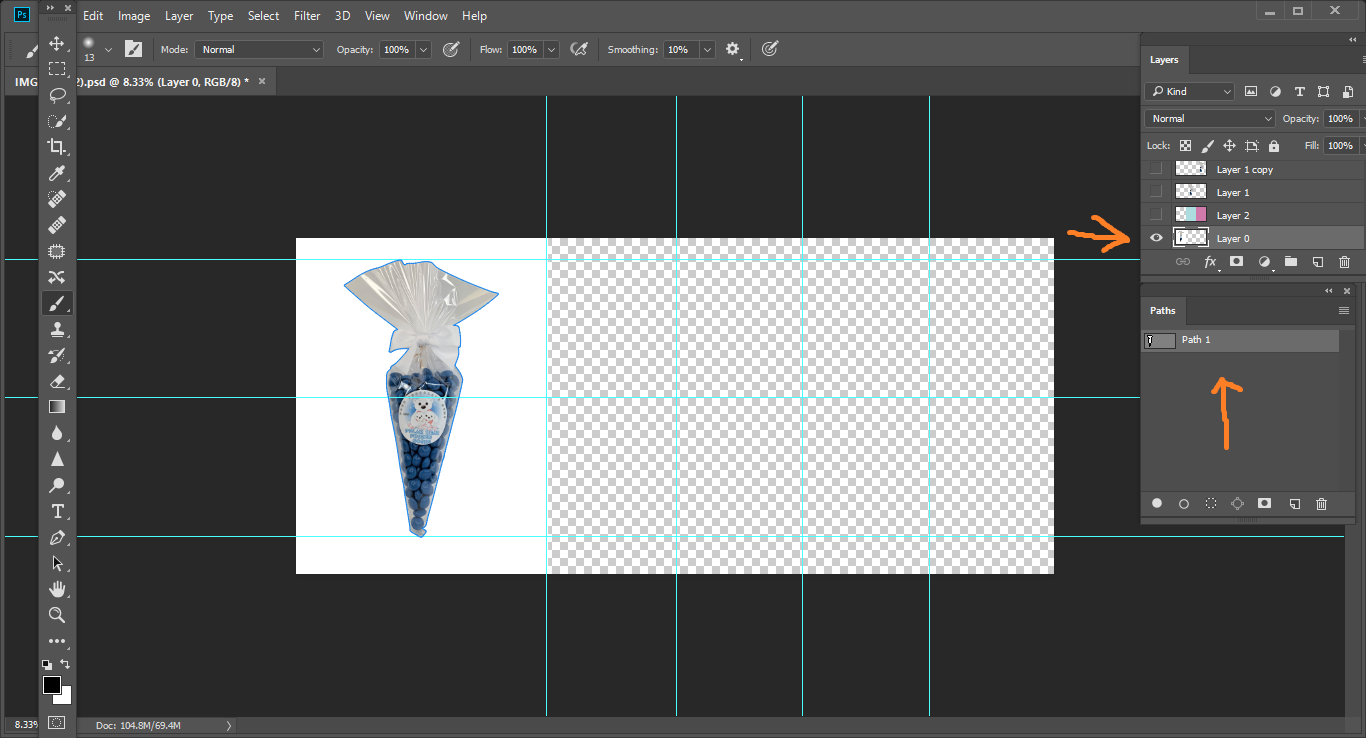
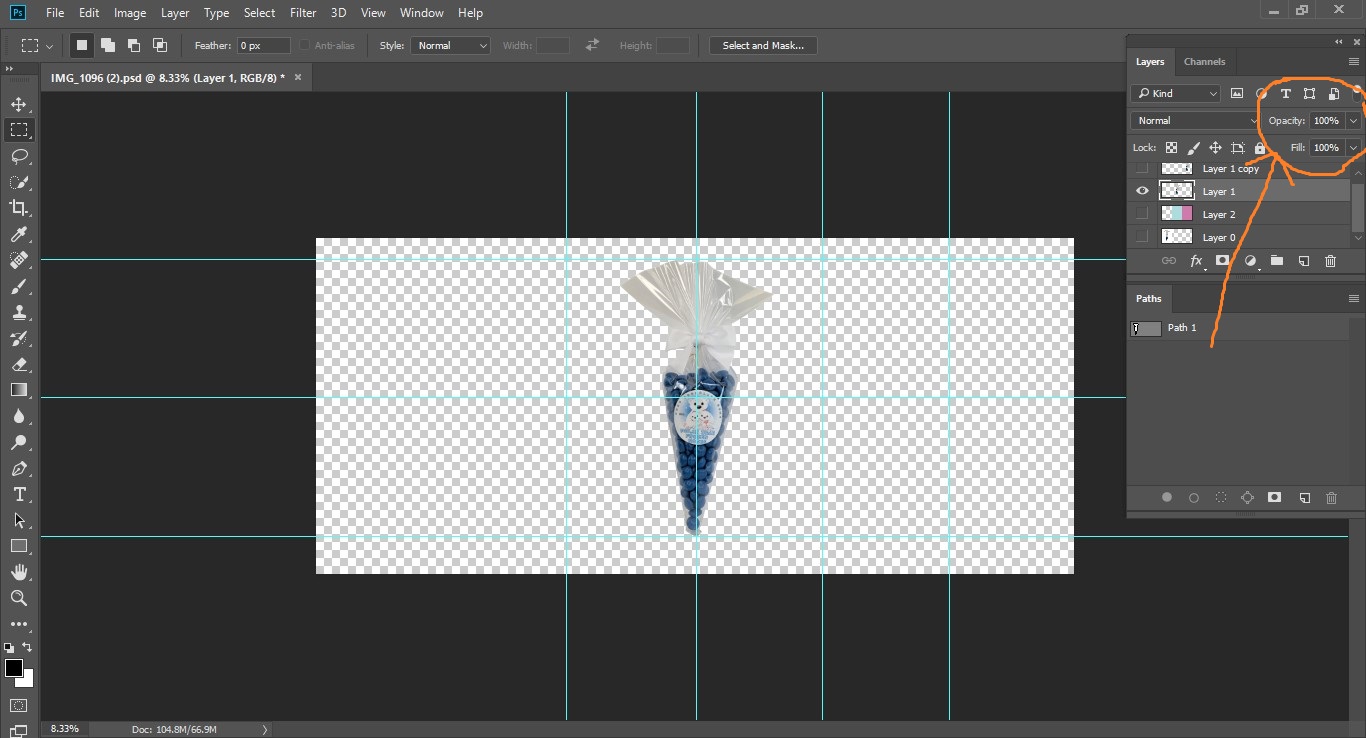
Explore The Layer Window: Normally, you will find this option on the right side of the window. Nearly every motion picture that hasn't receive any edit will have only 1 layer called "background". Now, right-click on that layer and select "Layer from background". It will open the new layer window. Leave the choices at their presets and press OK. "Background" will change to "Layer 0". Doing this will open the film, enabling you lot to edit it.
Select Magic Eraser: This is situated in the Eraser device menu. To get to it, click and hold the Eraser tool symbol. Click the Magic Eraser Tool from the menu that shows upwardly.
Adjust Settings: When you select the Magic Eraser, you will see a few settings in the superlative carte bar. Modify them, then they appear to be similar this:
Set up Tolerance to 20-30. A depression tolerance will shield portions of your unique picture from beingness eradicated when you utilise the tool. Modify the understanding to locate a level that works for your undertaking.
- Bank check the Anti-alias box.
- Check the Contiguous box.
- Set Opacity to 100%.
Select The Background: The magic eraser will brand it into a transparent background by removing all the colours. For gradient backgrounds, the tolerance level will influence how many related colours take been removed.
Change Modest Adjustments: For deleting solid colour background one click is enough to erase it. Merely you might take to make some small adjustments with the eraser tool.
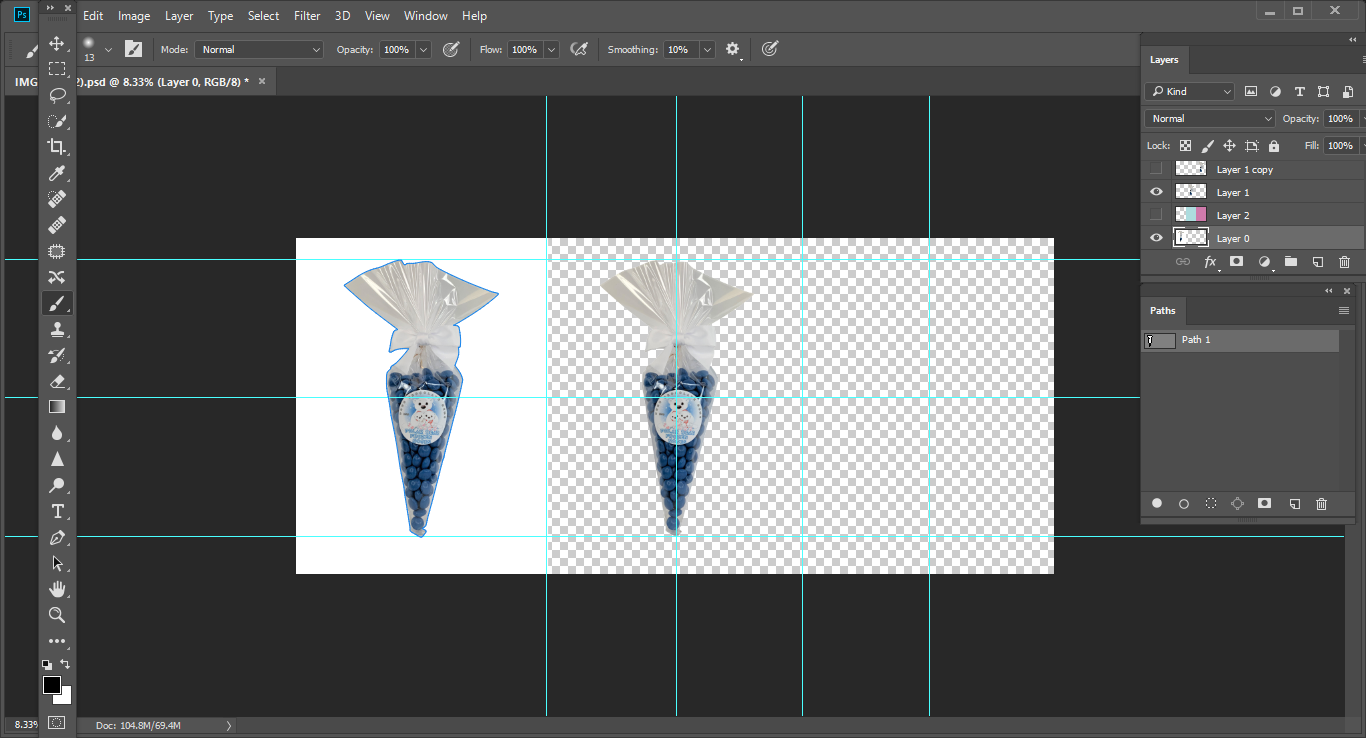
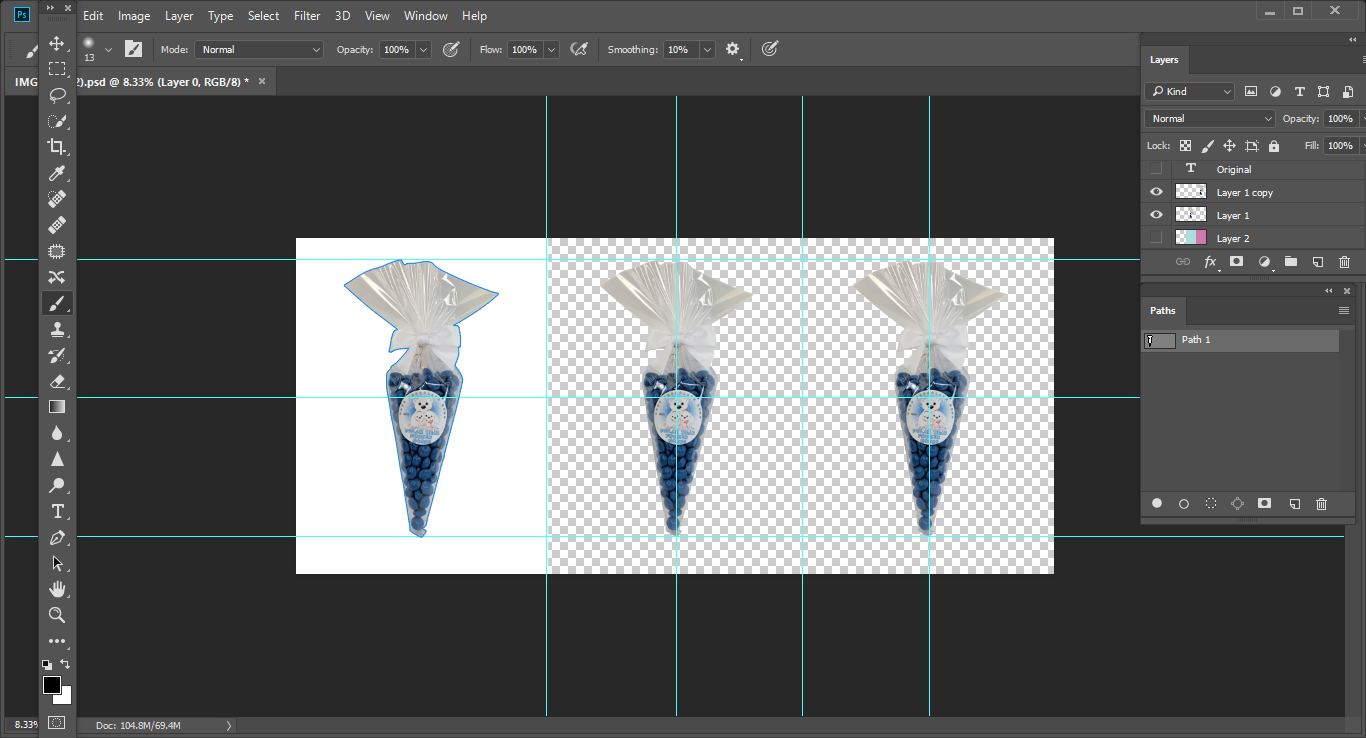
Click your Object: One time you make sure of the consummate removal of the background using the lasso tool. Use it to brand a fuzzy line around the object. Press Ctrl+Shift+J (Windows) or Control+Shift+J (MacOs) to make "New Layer via Cut". It will put your object on a dissimilar layer from the old background. You would at present be able to erase the background (Layer 0).
Relieve: Your background less image is set up to exist used as it is or patched into some other movie with some other background.
Irresolute a Complex Background
Steps:
- Open up Image.
- Select Background Eraser Tool.
- Melody your Brush Option.
- Tune Limit and Sampling Settings.
- Employ The Pen Tool.
Open Image: Commencement by opening a picture that y'all want to erase the background from.
Select the Background Eraser Tool: Select the Background Eraser tool from the Photoshop tool kit. It might exist covered upwardly underneath the Eraser tool. You accept to select and hold for the option to be revealed.
Tune your Castor Choice: In the toolbar at the highest betoken of the window, click the arrow symbol abreast the brush shape. Set the Hardness to 100% with the goal that the edges of the brush miscarry as much every bit the middle. Gear up the width to a size that functions perfectly with the picture you have. You will exist making wide strokes with the brush. And then next in the tool option you will find something called sampling, make the sampling continuous. Gear up the limits to detect edges and ready a tolerance of somewhere between 20-25%. Past using continuous sampling at the time of erasing background colour the tool will simply delete color similar to the centre of the circumvolve. But if y'all want to delete something trickier like space between hairs you have to select discontinuous sampling. The tolerance is used to increase the range of colour that you are removing.
Tune Limit and Sampling Settings: Erase the groundwork very advisedly. The most successfully way of erasing background is: first erase the color from the edges. In this case, be actress conscientious. If y'all have to zoom in for a clear view, then zoom in. You might discover some colours difficult to erase since they might be like to your product. In that example, set the sampling to discontinuous and the tolerance rate to 30% or more. At this point, there is a 70% take a chance that you won't be needing any more than tools.
Using Pen Tool: This a bit of advance technique for erasing the background. There are some types of pictures where you lot can't but erase the background with an eraser. Because that might erase the original part of your production, that's why the pen tool is essential in those cases. With a pen tool, you can mark office more accurately than an eraser and erase.
To Sum up
To begin with erasing or irresolute background is not an easy job. It requires preciseness, patience and time. One time you become familiar with the Photoshop tools y'all can as well exercise it, in well-nigh cases, you won't exist using the Magic wand tool. Preferably you lot will exist using Background eraser, just information technology's a 50%-5% chance. Background eraser won't be able to erase the background of all pictures. You too have to take into consideration tools like sampling, pen tool, tolerance, and even manual touches.

How To Remove Background From Bmp In Photoshop Elements,
Source: https://www.clippingpathoutsource.com/blog/how-to-change-remove-bg-in-photoshop
Posted by: rosenbergequed1960.blogspot.com
0 Response to "How To Remove Background From Bmp In Photoshop Elements"
Post a Comment